I know, I know. It's been a while (again). But, in the midst of revising for my last ever exams (of my undergrad degree!), I'm back! And this time, with a snack attack!
This term has been filled with all sorts of feelings. As my last term as an undergraduate, I feel this need (want?) to make the most of it, yet I know that days in the library are necessary and that exams are important. Yes, there's more to life than school and grades, but it's equally important to reign each opportunity and that means studying when it's necessary... And it most definitely is right now.
And my best friend when studying? Snacks, duh. Just kidding. But only kinda....

I love keeping lots of snacks around to make sure I have something to grab when the snack cravings hit. I also make sure they'll hit the spot depending on what I'm feeling at that point - sweet, savoury, crunchy, creamy, light, hearty, healthy and yes, sometimes totally indulgent. Here are a few of my favs:

Ingredients
Makes 12-15 bars depending on what size you like 'em
Treat these only as a rough guide - feel free to increase/decrease proportions of the nuts/seeds/fruits as you wish!
3 cups whole rolled oats
1 cup desiccated coconut (medium ground)
1 cup chopped nuts (I used walnuts, pecans and pistachios, but any mix of nuts will do!)
1/4 cup pumpkin seeds
1/4 cup sunflower seeds
2 tbsp white sesame seeds
3/4 cup chopped dried fruits (I used dates, figs and apricots but other options I could definite imagine working well are cranberries, cherries. raisins or goji berries)
1/2 cup coconut oil
1/2 cup honey
1/4 cup pure maple syrup
pinch of salt

This term has been filled with all sorts of feelings. As my last term as an undergraduate, I feel this need (want?) to make the most of it, yet I know that days in the library are necessary and that exams are important. Yes, there's more to life than school and grades, but it's equally important to reign each opportunity and that means studying when it's necessary... And it most definitely is right now.
And my best friend when studying? Snacks, duh. Just kidding. But only kinda....

I love keeping lots of snacks around to make sure I have something to grab when the snack cravings hit. I also make sure they'll hit the spot depending on what I'm feeling at that point - sweet, savoury, crunchy, creamy, light, hearty, healthy and yes, sometimes totally indulgent. Here are a few of my favs:
- An apple or banana with almond butter
- Mashed avo on toast/rice cakes or with pita chips/tortilla chips
- Dates with greek yogurt and nuts - the tart, sweet, crunchy combo is a winner
- Banana walnut smoothie
- Cookies (check out the many recipes on the blog here)
- A handful of nuts - I've been loving sprouted, blanched & toasted almonds as well as brazil nuts
- Chocolate in any form!
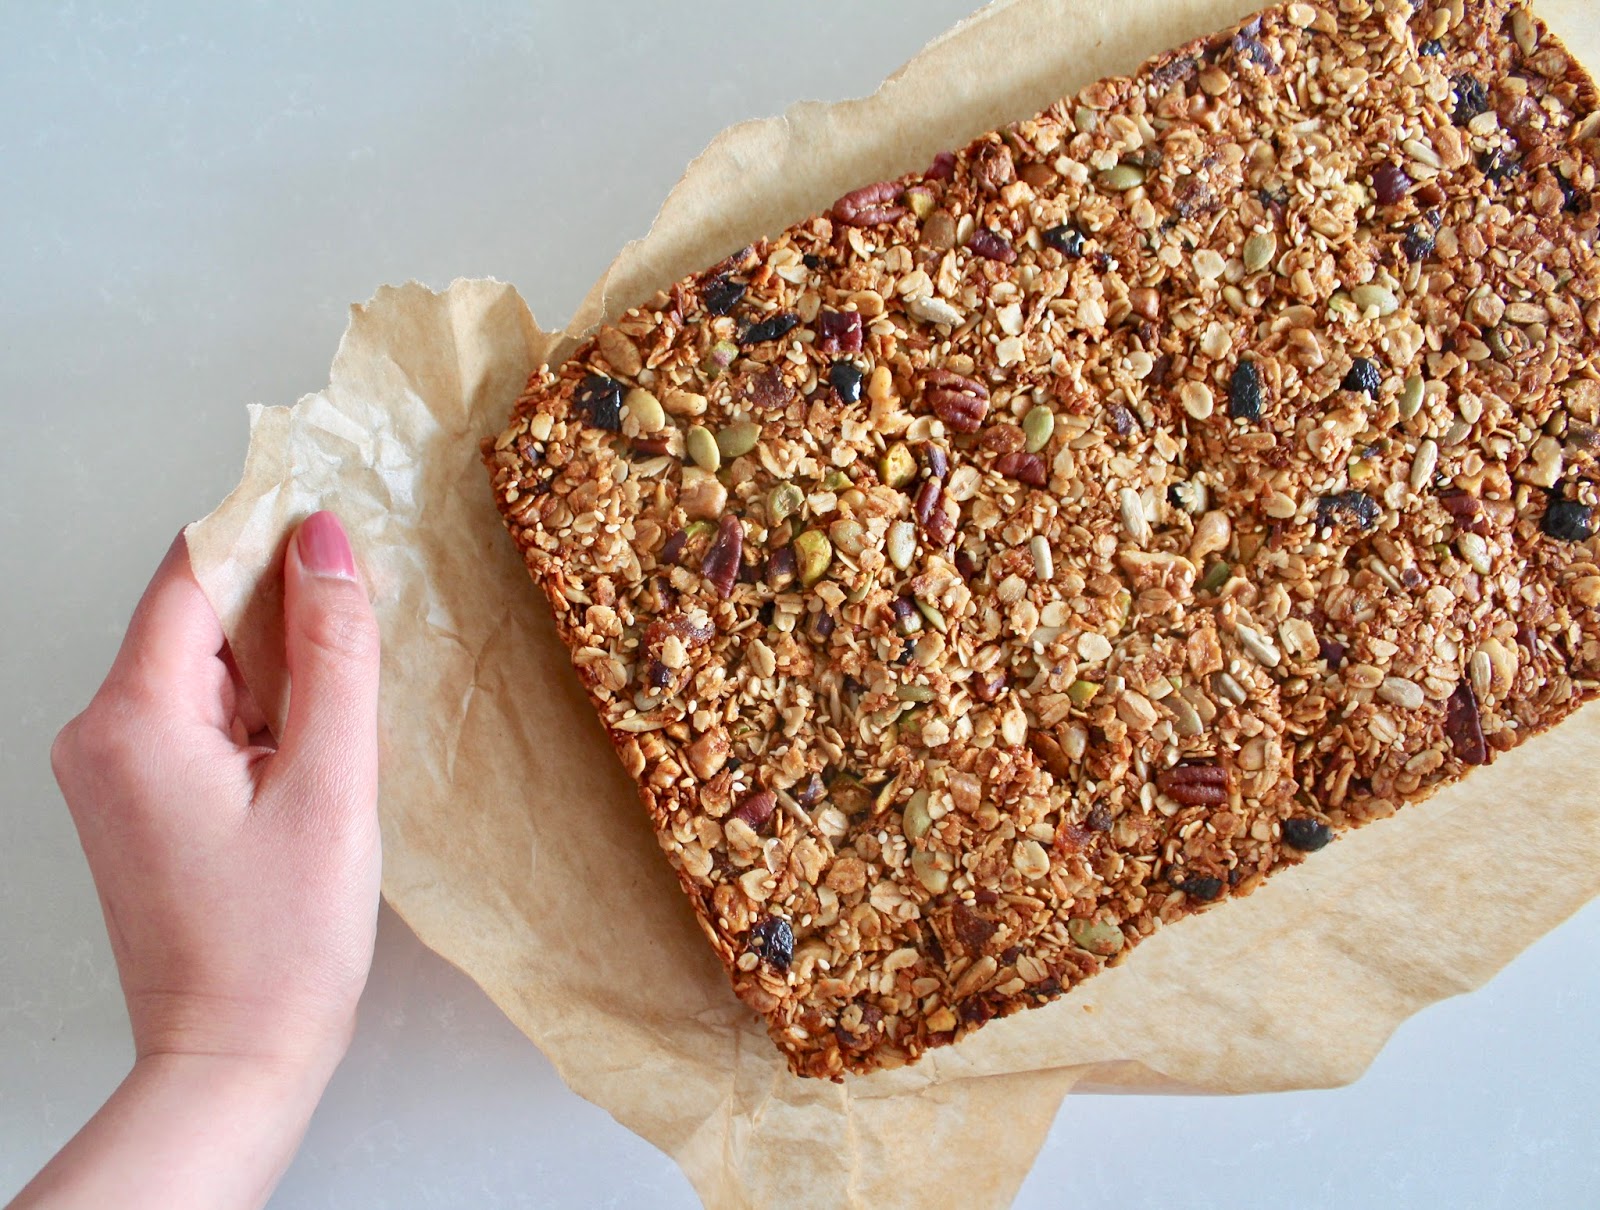
- THESE GRANOLA BARS
I definitely eat my fair share of store-bought snacks (which are really great nowadays as new companies launch new products with minimal additives), but it's nice to have portable snacks that are homemade too. Mashed avocado and smoothies are great, but they're generally best eaten/drunk fresh and not the easiest things to bring around.
That's where these bars fit in. Once cut/broken apart, they can be wrapped in cling film and stored for up to a month (if they last even close to this long, you've got willpower!). Grab one for a quick, small breakfast on-the-go, toss one in with your packed lunch, carry it in your handbag for when the munchies hit when you're out shopping, need I continue? Basically, they're absolutely delicious, hearty, easy to carry and good any time of day. Even as a post-dinner sweet treat!
Another thing I love doing, not necessarily intentionally, is using it as granola on yoghurt. I tend to do this with the crumbled bits (yes, they do crumble a bit when you cut them), but am also known to take a bar and crush it straight on top of my bowl of yogurt when I'm really feeling it.

They are 100% customizable with whatever you like/what mix-ins you have on hand. As I'm writing this, I'm envisioning a super summery tropical version with dried mango, apricot, pineapple and coconut. Or an indulgent almond chocolate variety. Really whatever floats your boat.
But getting back to these ones - they are definitely classic, but fun. They are chock full of allll the nuts, seeds and dried fruit. They're perfectly sweet, über crunchy and just straight up heavenly. Oh, and did I mention your home will smell just incredible when these are baking?
Makes 12-15 bars depending on what size you like 'em
Treat these only as a rough guide - feel free to increase/decrease proportions of the nuts/seeds/fruits as you wish!
3 cups whole rolled oats
1 cup desiccated coconut (medium ground)
1 cup chopped nuts (I used walnuts, pecans and pistachios, but any mix of nuts will do!)
1/4 cup pumpkin seeds
1/4 cup sunflower seeds
2 tbsp white sesame seeds
3/4 cup chopped dried fruits (I used dates, figs and apricots but other options I could definite imagine working well are cranberries, cherries. raisins or goji berries)
1/2 cup coconut oil
1/2 cup honey
1/4 cup pure maple syrup
pinch of salt
Instructions
Turn on your oven and heat to 160°F. Yes, this somewhat lower than "usual" baking temperatures, but it's important not to go any higher. The bars need to bake for a while to get nice and crunchy, so working with this temperature prevents them from burning/browning on top too quickly.
Line a 13" x 9" baking dish with parchment paper.
In this, pour the dry rolled oats and place in the oven for 10 minutes to toast slightly. Once 10 minutes is up, add the coconut, nuts and seeds to the same dish and place back in the oven for another 5 minutes. Once they're done, remove from the oven, but leave the oven on.
Meanwhile, work on the wet mixture. Don't forget about the dry ingredients, though! You don't want to let them brown or cook too much at this stage.
In a small pot or saucepan, whisk together the maple syrup, coconut oil, honey and salt and place on the stove over medium heat until it just starts to simmer. Turn off the heat as soon as you see bubbles.
Let both the toasted dry ingredients and hot liquid mixture cool for 2-3 minutes until you can handle them. Keep the same parchment paper!
Then, in a large mixing bowl, throw in the toasted oats/nuts/seeds and the chopped dried fruit. Give it a quick stir. Pour in the wet ingredients and stir well until all the dry ingredients are well coated.
Pour the mixture into the lined baking dish and press down firmly until even and compacted. I find the easiest way to do this is to actually cut another small piece of parchment paper and use that to avoid sticky fingers.
Bake for 40-60 minutes until gorgeously golden brown, aromatic and crunchy. Keep a close eye ever 5 or so minutes as these can go from golden to burnt very quickly.
Once they're out, lightly cut into bars to make the final cutting apart a bit easier. Let them cool in the dish for 10 minutes, then transfer to a wire rack to cool completely.
Cut/break apart the bars, wrap in cling film and store in an airtight box. Make sure to leave one unwrapped so you can enjoy it... now!
No comments:
Post a Comment